Business Integration Solutions Documentation
Walkthrough: Purchase Order Confirmation
About this walkthrough
This walkthrough provides an overview on how to send a purchase order confirmation notifictaion.
In business or commerce, an order is a stated intention, either spoken or written, to engage in a commercial transaction for specific products or services. From a buyer's point of view it expresses the intention to buy and is called a purchase order.
Prerequisites
| Template | Description | Default Report |
|---|---|---|
| NM_PO.CONFIRM | NM Template- Purchase Order Confirmation | Order (405) |
Story
- This connection uses the Record Change Event for "Modify" and it is linked to a specific internal document NM_PURCHORDERTRIGG which contains only two fields: the No and Status fields from the Purchase Header table.
- This means, that as soon as a purchase order is modified, the record is detected by the Record Change Event.
- Once the Pipeline is triggered, the XML Generator Activity will create an XML-file, based on an internal document but only for "Released" purchase orders.
- It is recommended to add the Splitter Activity, which results in one message for each Purchase Order.
- The XML Minifier Activity is used to clean the message of empty nodes/blocks that are not mandatory.
- The message is taken through the XMLSchemaValidator which makes sure the XML-message respects the internal document structure (ex. all the mandatory nodes are in the structure).
- The Header Mapper Activity is adding the headers to the message body, so the recipients and the E-mail subject are filled in.
- The XML to HTML Translator Activity allows you to create an HTML E-mail message, based on your branding templates, but it is also possible to configure an HTML body manually.
- Based on the standard Microsoft Business Central reports functionality, the Attachment Generator Activity is adding attachments to the E-mail message.
- The E-mail is send via the Email Writer Endpoint.
- The internal document NM_PURCHORDER contains all the information you need to configure the XML Generator activity, the Splitter activity, the Header Mapper activity and the XML to HTML Translator activity.
- Adding other fields to this document allows you to define a personal E-mail message.

Task
Setup
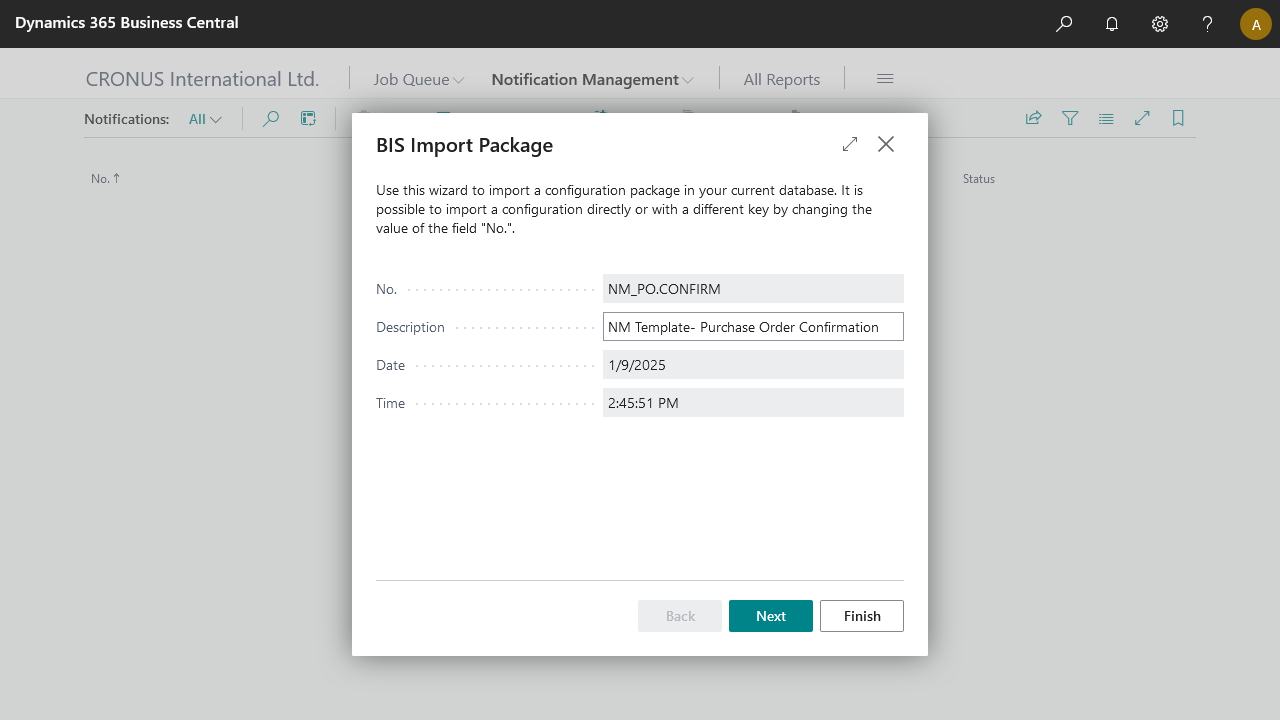
- Import NM_PO.CONFIRM.zip configuration package or use the BIS template if available.
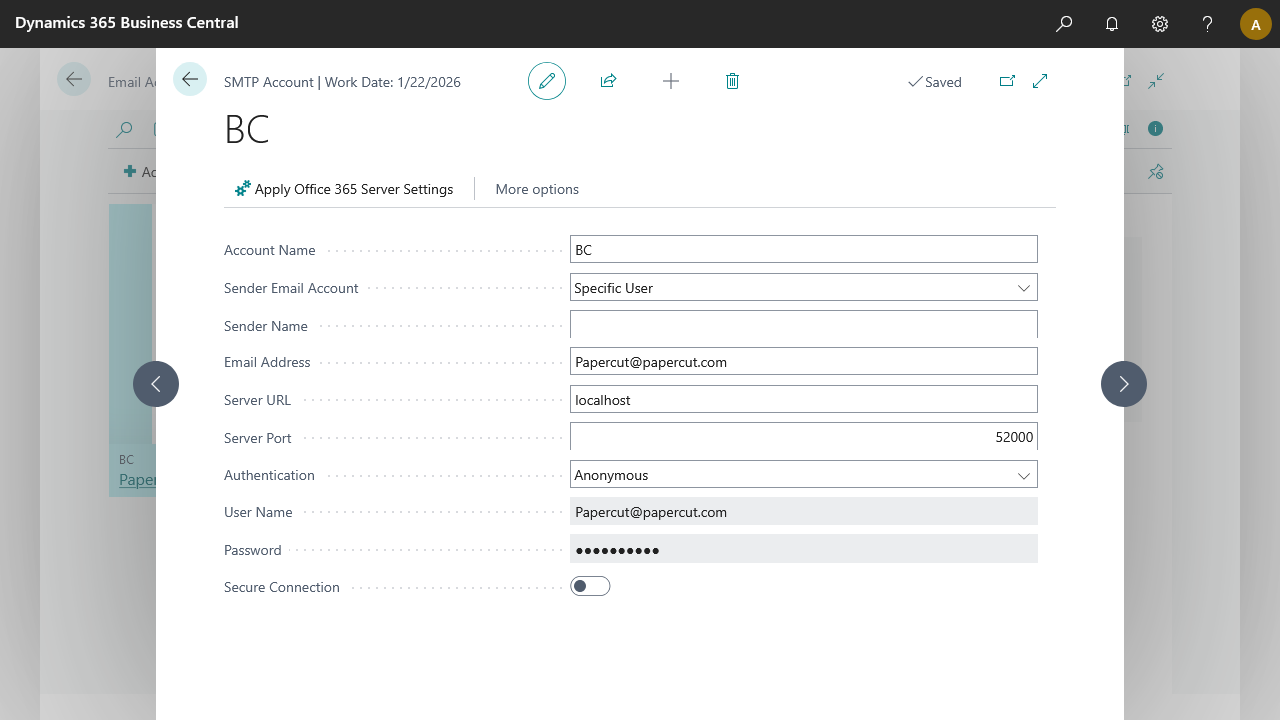
- Add a new Email Account in Email Accounts, then select SMTP Account to send notifications via Papercut SMTP server.
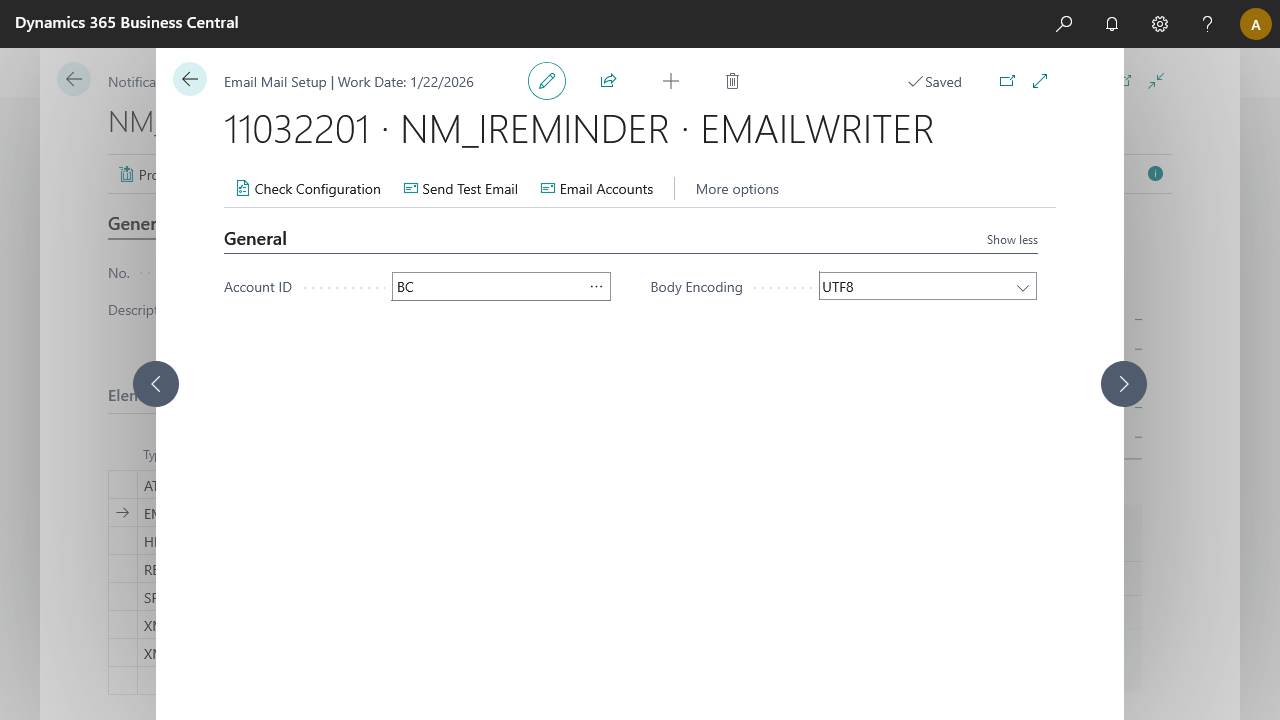
- On the notification page edit the EMAILWRITER and add the Account ID which is created in above step run the configuration once.
Process
- Create a purchase order with some details on it and release it.
- Open notification NM_PO.CONFIRM.zip and observe that the purchase header has been captured by the Record Change Event activity
- Process the notification.
Result
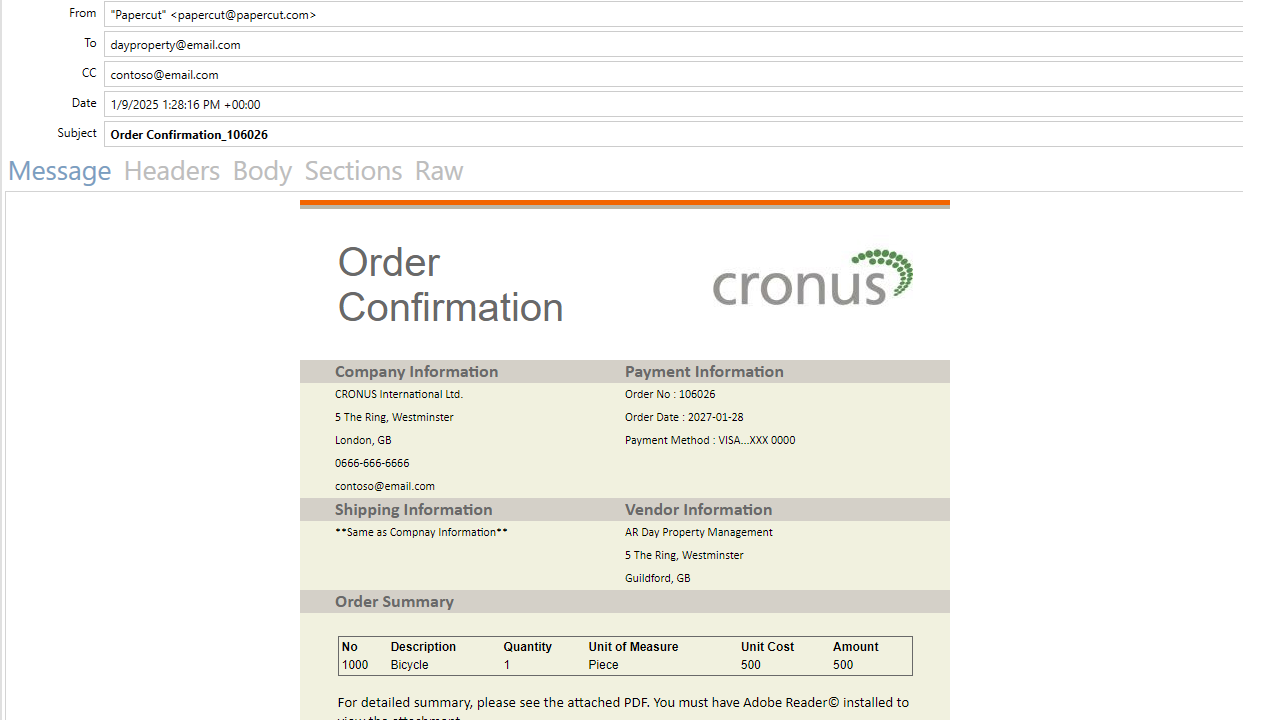
The result is that the mail is sent to all receipients. By using papercut, instead of sending it to receipients, we've captured the mail on our demo environment, with a preview of the HTML mail body and a PDF attachment of the Order confirmation.
For a brief guide, see Papercut SMTP setup